Getting Started
T-Sketch is an infinite canvas application for real-time drawing, collaboration, and visual thinking. This guide will help you sign up, create your first sketch, and understand the application layout.
Video Walkthrough
New to T-Sketch? This 12-minute video walks you through the entire interface — canvas navigation, drawing tools, layers, shapes, text, presentations, and collaboration.
Sign Up
Head to sketch.tronor.com to create your account. You can sign up with your email or use a social login provider. Once signed in, you land on the Home screen where you can see your recent sketches and create new ones.
Tip: you can also install T-Sketch as a PWA or download the native desktop app for macOS or Windows for a better experience.
Creating a Sketch
From the Home screen, click New Sketch to open the Finder dialog. Here you can:
- Pick a Team and Project to organize your sketch
- Give your sketch a name and optional description
- You can also import a previously exported
.sketch.ziparchive
Once created, you are taken directly into the sketch editor with an infinite canvas ready for drawing.
Application Layout
The T-Sketch editor is organized around a few key areas. Click any mode in the toolbar below to explore how the interface changes.


- Top Toolbar — mode buttons, undo/redo, and quick actions. The Main Menu (hamburger icon, top-left) opens sketch operations. The Collaboration Widget (top-right) shows connection status.
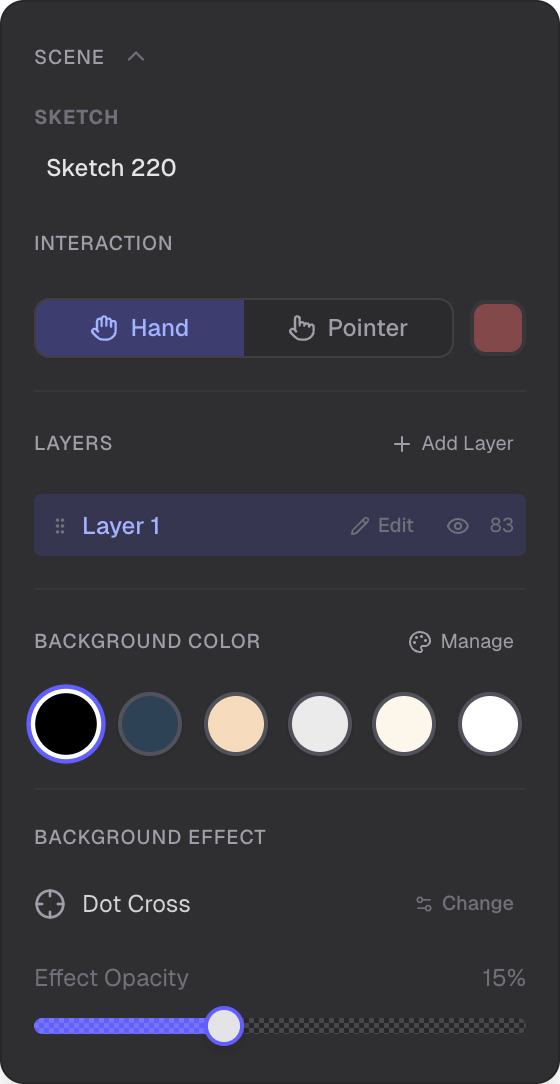
- Left Sidebar — Mode Panel — each mode has its own panel with controls and settings specific to that mode. All panels are collapsible.
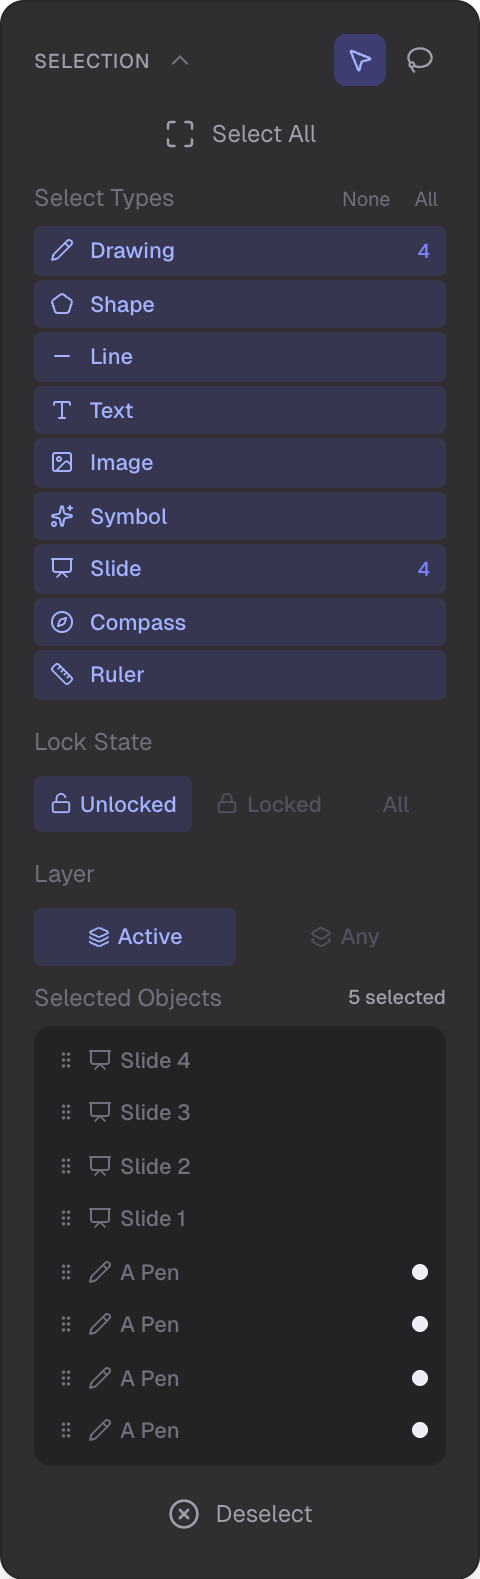
- Right Sidebar — Properties Panel — contextual properties for the selected object. Controls change depending on the object type.
- User Widget (top-right) — your avatar and name. Click to open the user panel.
- Bottom Area — the Help icon (bottom-right) opens the keyboard shortcuts reference.
The interface supports light and dark mode. By default, T-Sketch uses Auto mode, which adapts the UI to match your canvas background color — dark backgrounds get a dark interface, light backgrounds get a light one. You can also lock to light or dark in the Scene panel.
User Panel
Click your avatar in the top-right corner to open the user panel. From here you can:
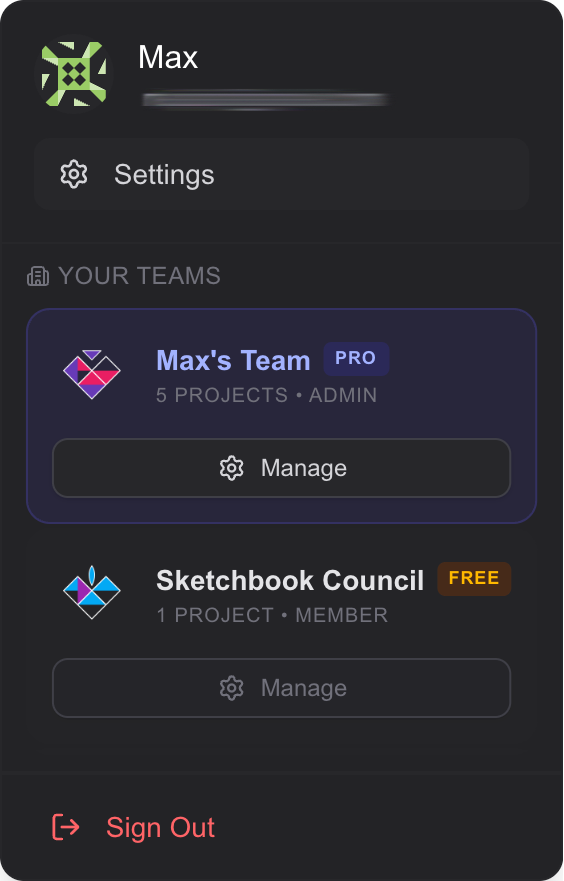
Profile, team management, settings, and sign out
- View your profile — see your name, email, and avatar
- Manage teams — switch between teams, view team members, and access team settings
- User settings — update your display name, appearance theme, and manage sessions
- Sign out — end your session
Spartan Mode
Press Tab to toggle Spartan Mode — a distraction-free view that hides all UI panels and toolbars, leaving only the canvas and a small toggle button. This is great for focused drawing or when screen-sharing your canvas. Press Tab again (or click the eye icon) to bring the UI back.
Canvas Navigation
T-Sketch has a flexible infinite canvas that you can navigate freely:
- Pan — hold
Spaceand drag, or use middle mouse button, or use the pan tool in Scene - Zoom — scroll wheel to zoom in/out, or use
+/-keys for 5% increments - Reset Zoom — press
Ctrl/Cmd + 0to return to 100% - Rotate — two-finger rotation gesture on trackpad or touch screen (0-360 degrees)
- Grid backgrounds — enable graph paper or ruled-line patterns for precise note-taking and architectural sketching
A compass widget in the corner helps you orient yourself and quickly navigate back to the origin.
Input Devices
T-Sketch works with any input device, but shines with a stylus:
- Mouse and trackpad — fully functional, including multi-touch gestures for zoom and rotation
- Graphics tablets (Wacom, Huion) — pressure sensitivity and tilt support for natural drawing
- Pen-capable tablets (iPad, Surface) — use as a drawing sidecar connected over your network. Palm rejection is handled by the system (browser or OS).
- Touch screens — finger drawing supported, with multi-touch gestures for navigation
Modes Overview
T-Sketch has 12 modes, each optimized for a specific type of work. Click any mode below to learn more about its features.
Navigate, pan, and configure your canvas background and scene settings.
Select, move, resize, and rotate objects on your canvas.
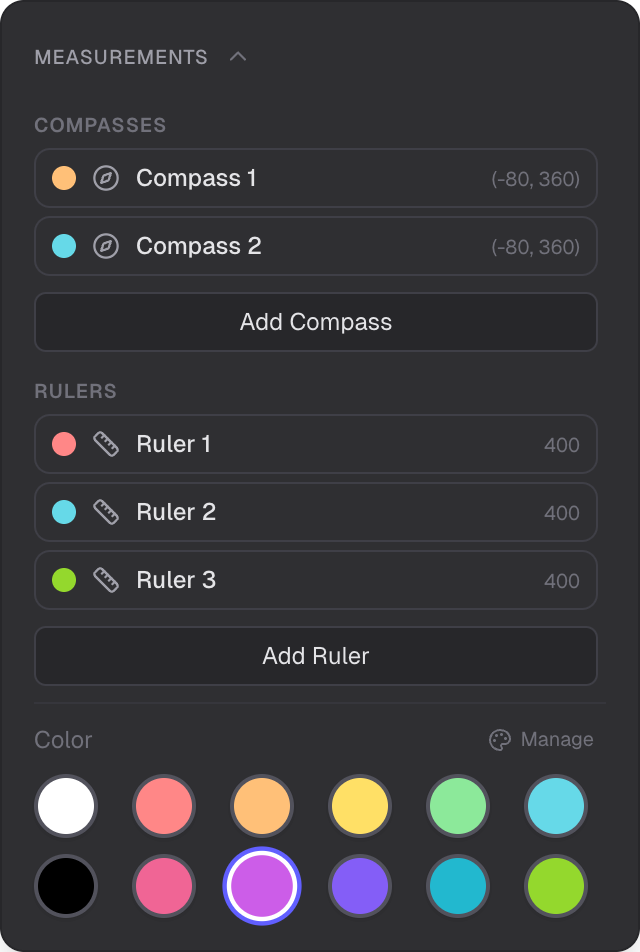
Place compass markers and ruler lines to measure distances.
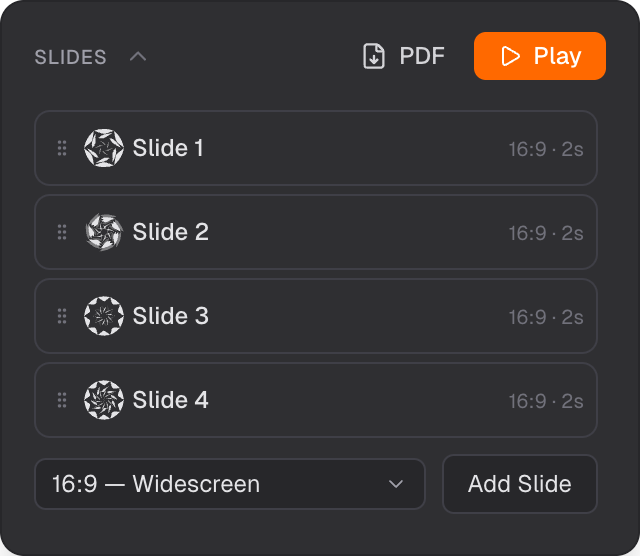
Create presentation slides on your infinite canvas.
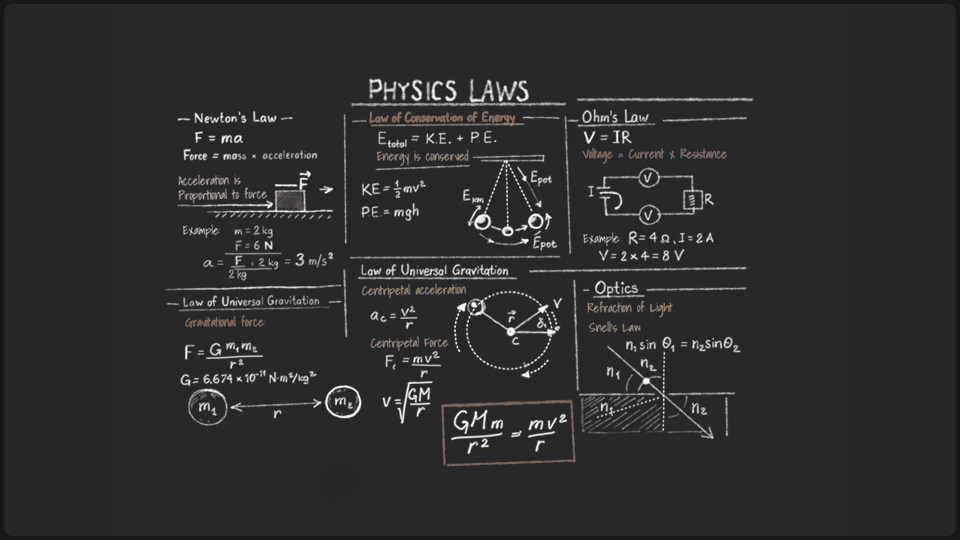
Draw with raster brushes, vector effects, and ink brushes.
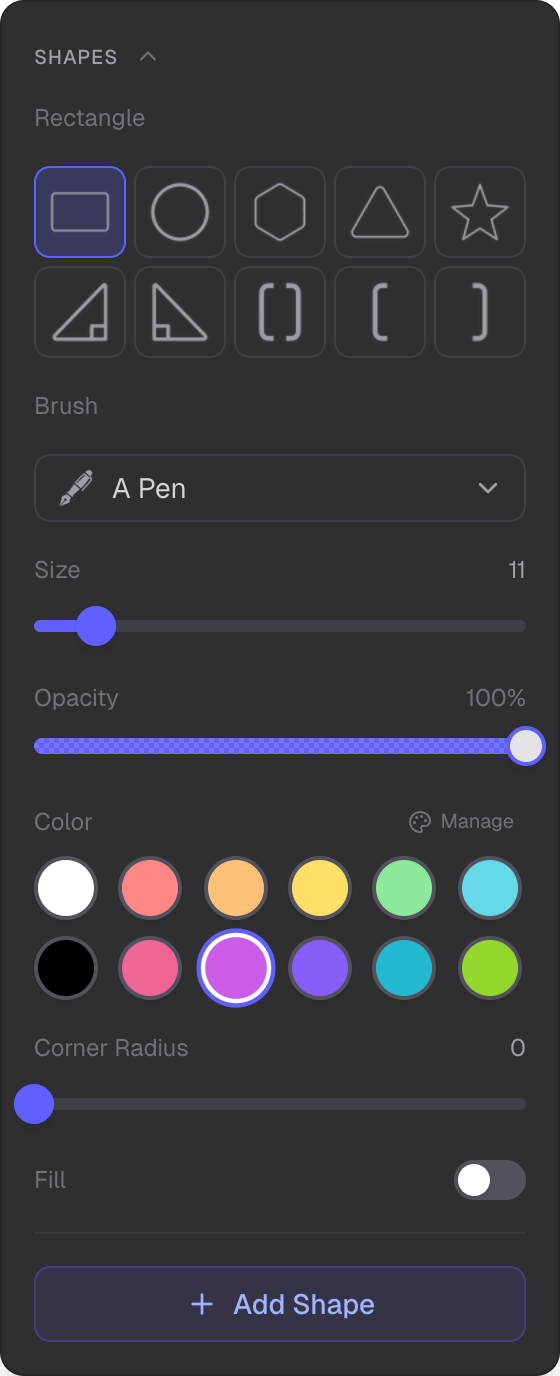
Create triangles and quadrilaterals with brush-style rendering.
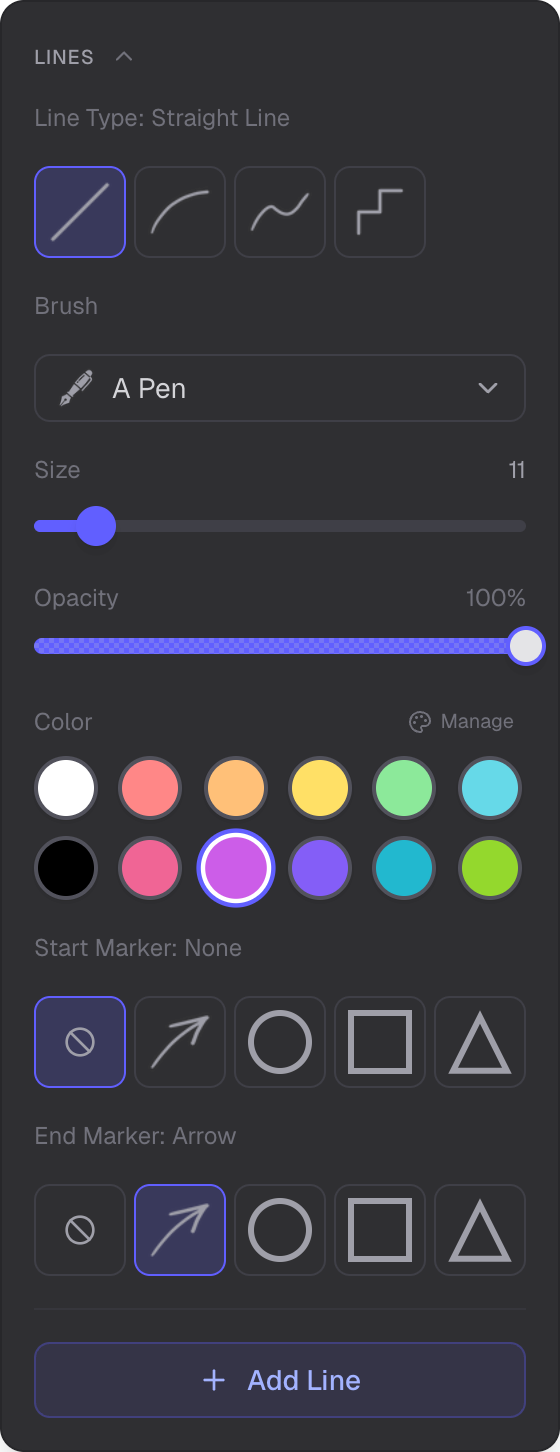
Draw straight lines, curves, and connectors with customizable markers.
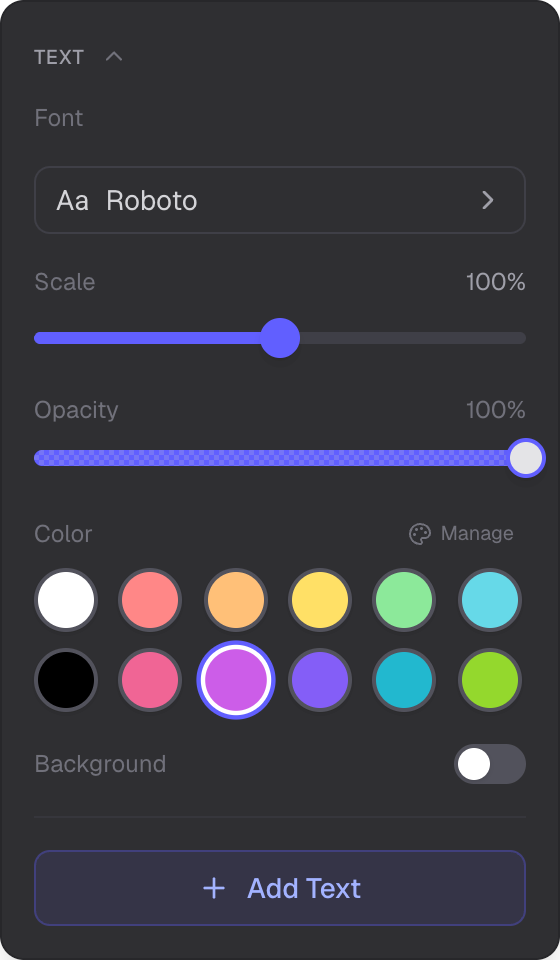
Add rich text with formatting, styling presets, and custom fonts.
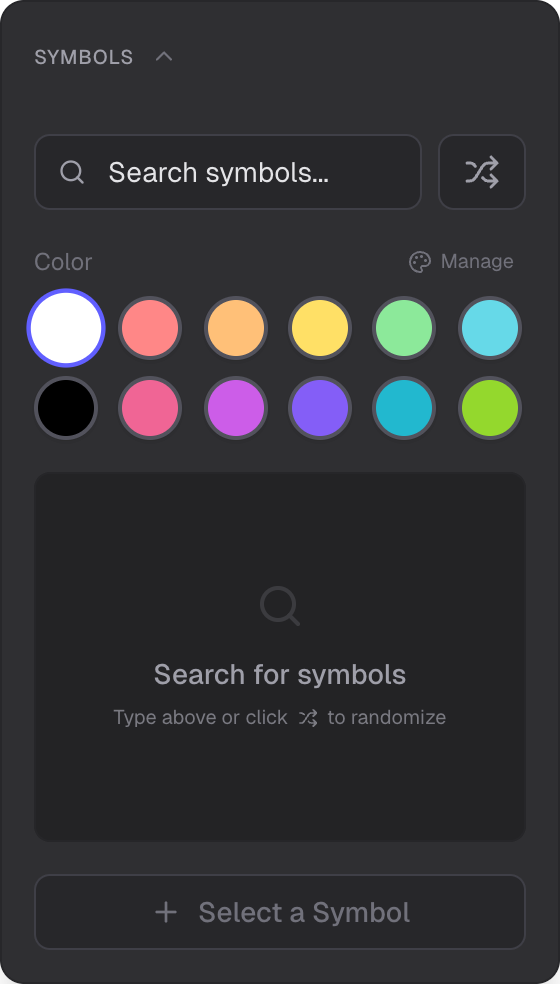
Browse and insert icons from a searchable symbol catalog.
Upload and style images with effects, borders, and opacity.
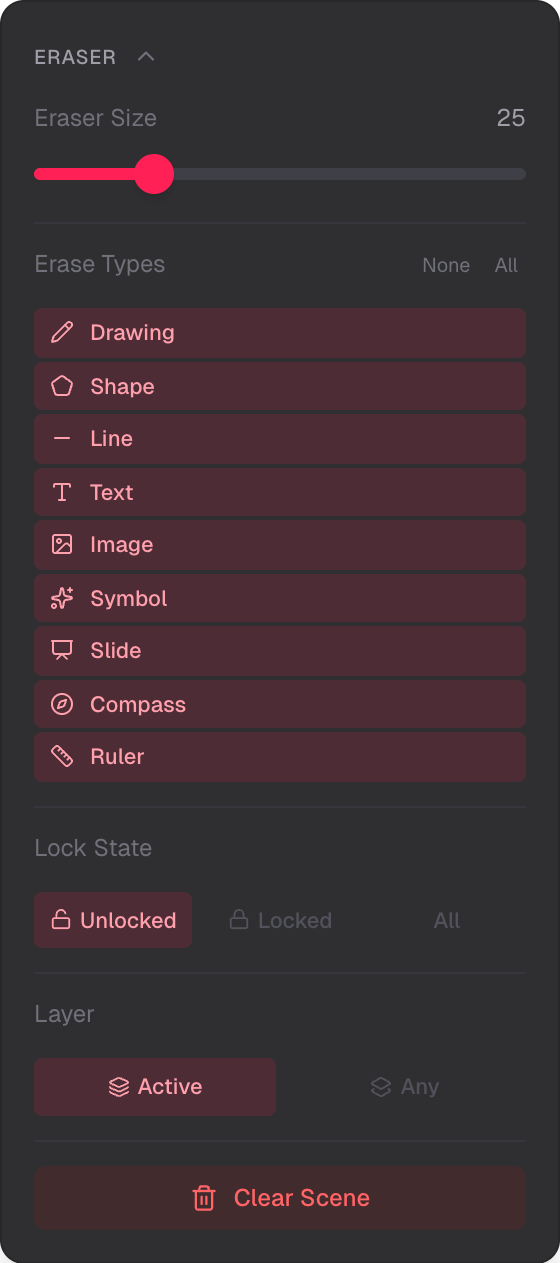
Erase objects with smart filtering by type and lock state.
Present your slides fullscreen with smooth transitions.
Features
Real-time editing, cursors, sharing links, and viewer mode.
Complete reference of all keyboard shortcuts.
Export sketches as archives or images, and import from files.
Manage your profile, appearance theme, and active sessions.
Manage team members, projects, billing, and subscriptions.
Applications
Install T-Sketch from your browser for a native app experience.
Download the native macOS desktop application.
Download the native Windows desktop application.